
Water makes the world go round.
It’s crucial that we protect it, and one such way to do that is through water quality testing. There are so many reasons why you might need to test water quality, and so many factors that make up ‘quality’ in the first place.
So in this blog, we wanted to dive into the basics of water quality testing — the whys and hows. Read on to discover more.
1. Establish which water source you need to test
The water source that you need to test will determine the kind of test you should carry out. Typical applications include:
- Surface water testing — lakes, rivers, and coastal waters
- Groundwater testing — water that has seeped into the earth and into underground aquifers
- Aquaculture testing — areas for farming aquatic organisms
- Mining & construction monitoring
- Marine water monitoring
2. Decide on the parameters to test for
Depending on your application, there are a range of factors and contaminants that you might want to test for in establishing water quality.
Here at Aquaread, our water monitoring equipment can be installed with a range of sensors. Here are some factors you may consider:
pH levels
This is one of the most common water quality measurements taken, establishing how acid or alkaline water is — and for good reason. The pH of water can impact the nutrient density, microbial activity, chemical behaviour, and the lives of aquatic organisms.
PH is found by measuring the amount of free hydrogen and hydroxyl ions in the water.
The higher the concentration of free hydrogen, the more acidic the water, while a higher level of hydroxyl ions indicates alkalinity.
Dissolved oxygen (DO)
The level of DO in water correlates to the health of aquatic life therein — simply because, well, oxygen is crucial for all life forms.
Low levels of DO can harm aquatic life, and the opposite is also true. If the water is too saturated with oxygen, nothing much will thrive there.
Salinity
The salinity of water refers to the concentration of salt and is measured by testing the water’s electrical conductivity. Saltwater is more conductive than water with low or no salt content.
Ammonia/ammonium
Testing for ammonia in water can provide another crucial indicator of water quality.
High levels of ammonia can indicate contamination with pollutants such as fertiliser and industrial waste from the manufacturing of plastics, rubber, and more.
Blue-green algae
This photosynthetic bacteria can grow in both fresh and marine water where water is warm and rich in nutrients.
If toxic algal blooms form, they can limit the growth of other plants below and lead to the water becoming hypoxic (starved of oxygen) and uninhabitable. Testing for blue-green algae, therefore, is an important indicator of the health of a body of water.
A range of other parameters
These are just some of the factors you may want to test for when establishing water quality. Take a look at our sensors page to discover more, from Chloride to Nitrate!
3. Choose your water testing tool
Now you know the parameters you are looking to test, you’ll have a better idea of what sort of equipment you need.
There are many effective at-home tests you can do to begin learning more about water quality. For example, you can use pH sticks if you’re just looking for a simple, educational test of pH levels. Other at-home test kits commonly measure lead, bacteria, nitrates, and chlorine.
But if you’re looking for a more in-depth water quality test for commercial, industrial, or environmental monitoring purposes, browse our range of water quality monitoring products.
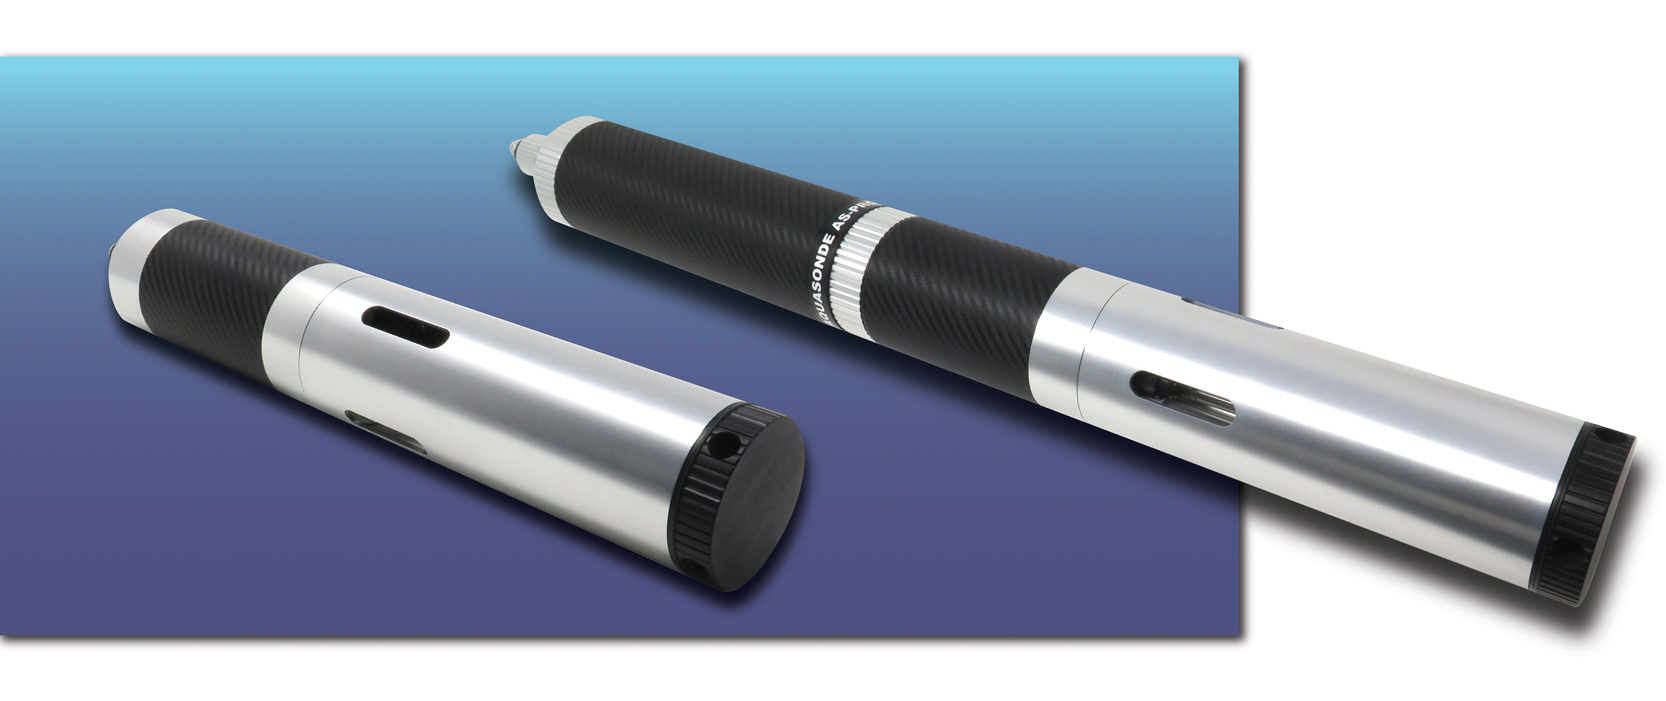
Take our AP-600 as an example. This multiparameter probe can measure:
- Optical DO
- Specific EC
- Absolute EC
- pH
- ORP
- TDS
- Resistivity
- Salinity
- SSG
- Temperature
- Depth
Not only that, but it has 4 spare auxiliary sockets so that you can add further sensors of your choosing. Used in combination with one of our logging tools, the Aquaprobe is a powerful water quality measuring device.
4. Ensure your equipment is installed & calibrated correctly
When you get your water quality measuring equipment, you’ll need to install and calibrate your sensors before use.
Installation is simple: first, unscrew the blanking cap from the aux socket, apply the provided silicone grease to the thread, and screw in your sensor. From there, calibration is made as easy and automated as possible — in a few short steps, your sensor will be calibrated and ready to use.
View each individual sensor page for information on the calibration requirements, and discover more about the calibration process in our video.
5. Test, test, test
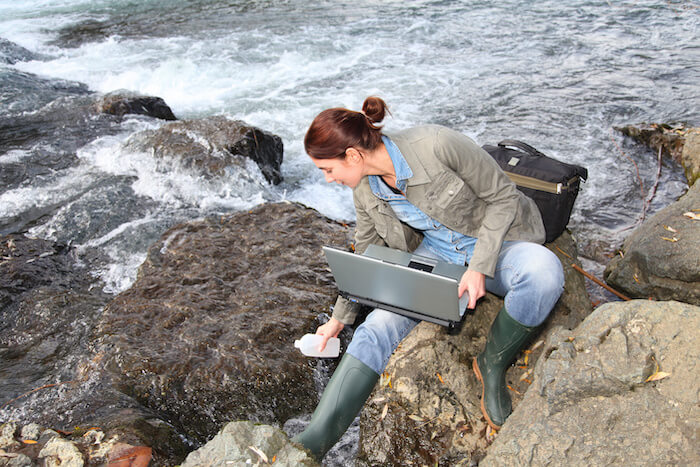
From here, you’re ready to test water quality to your heart’s content — whether it’s to establish the impact of urban runoff on local lakes or the quality of drinking water in underground aquifers.
Discover more about Aquaread here and, if you have any questions about water quality testing, don’t hesitate to get in touch with our team!